Today we decided to give Shogun a taste of his own product. (Feb/06/2011 :: for pre-face lift engine)
We pulled the EML and swapped in a replacement unit to which we added his hot EML chip.
Took about 30 minutes and we followed some speedy instructions from BMW mechanics.
After installation we drove the car with some really heavy in-gear acceleration and everything worked flawlessly.
WHEW!
We did not disconnect the battery but it is recommended to do so. This is done by unbolting the cable at the front of the rear passenger seat.
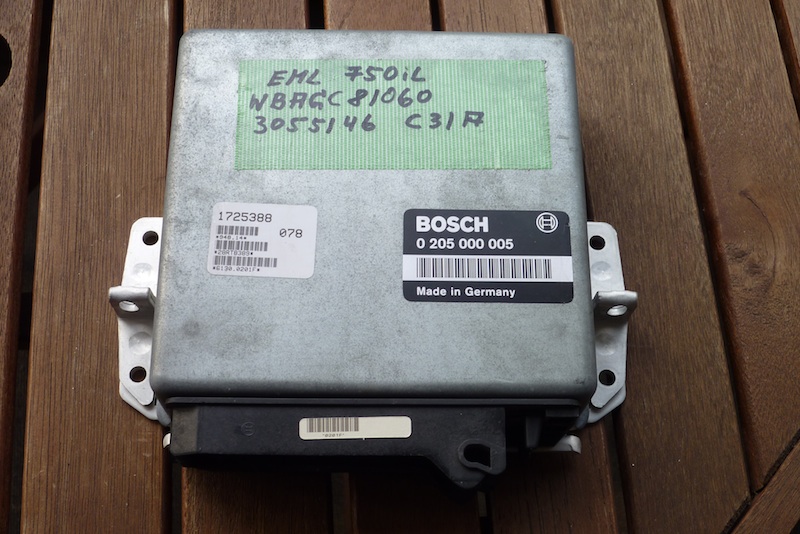
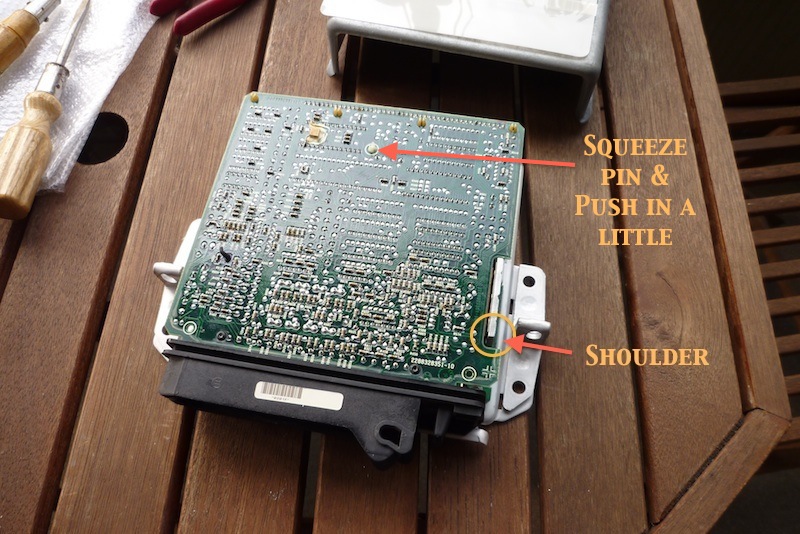
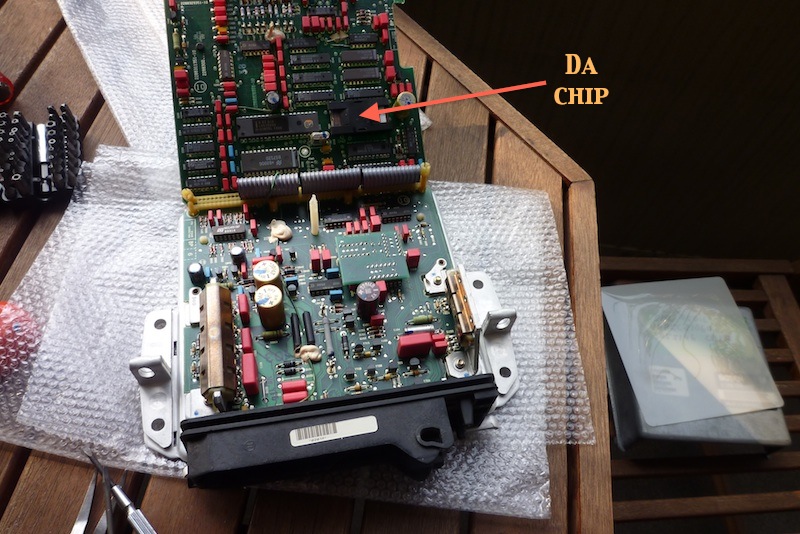
This is the top side - we checked the type number to make sure we had the right unit
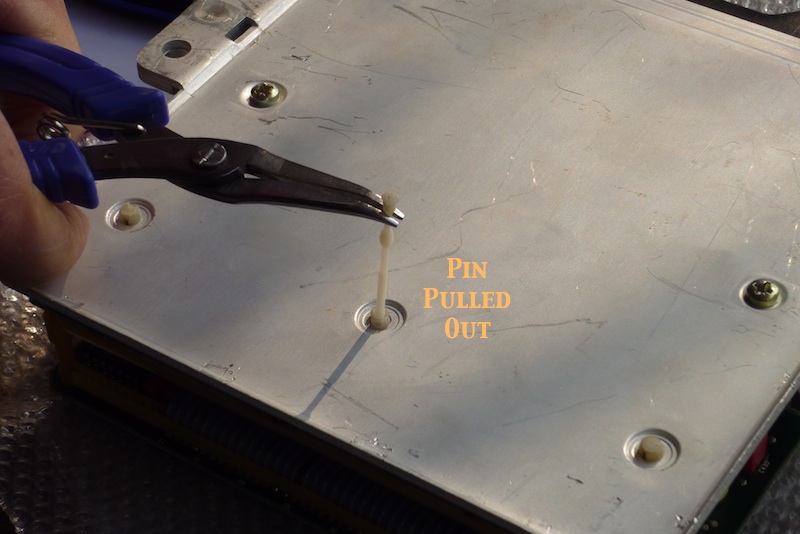
1) turn the EML over and pull the plastic pin out completely from the bottom of the case.
We used needle nosed pliers.
2) We then used a thin-bladed flat screwdriver to lift up the 12 tabs.
Do not remove the screws -- not necessary!
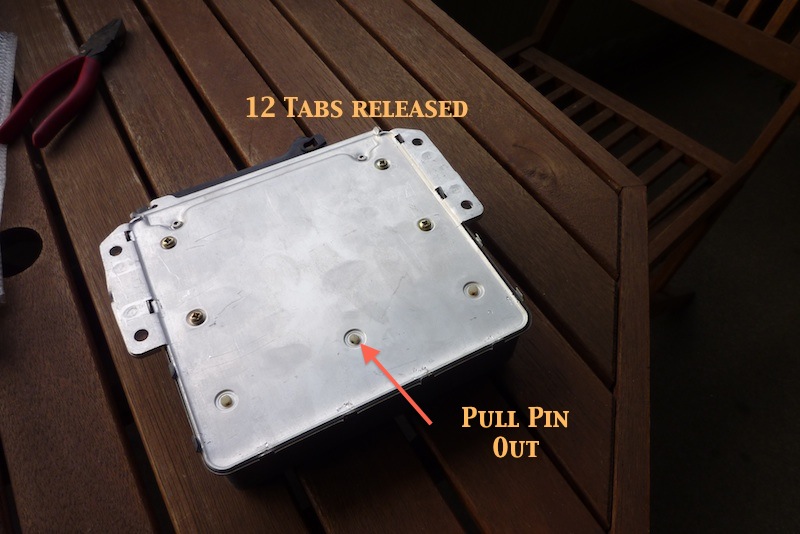
3) Turn the eml over and lift off the aluminum cover.
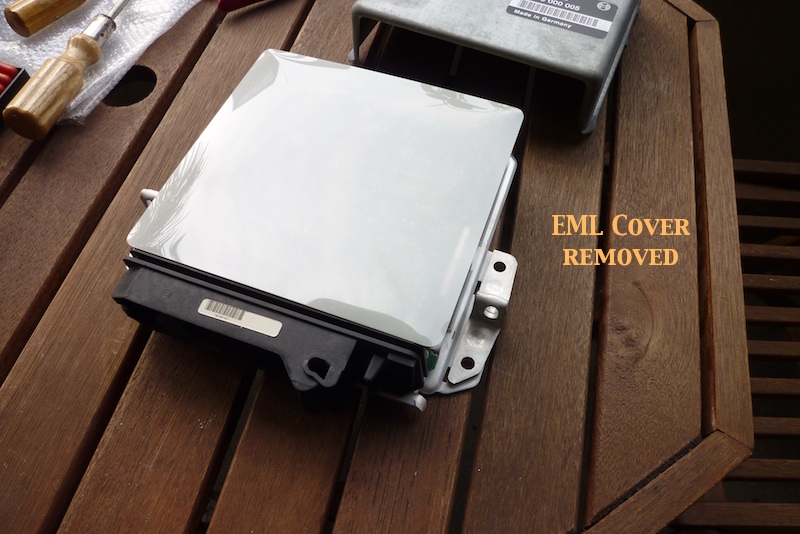
4) The plastic sheet simply lifts off.
Underneath you can see the center plastic mounting pin. Squeeze it together and push it down slightly so the
board is released from the pin.
Note the Shoulder. Instruction step 8) mentions this.
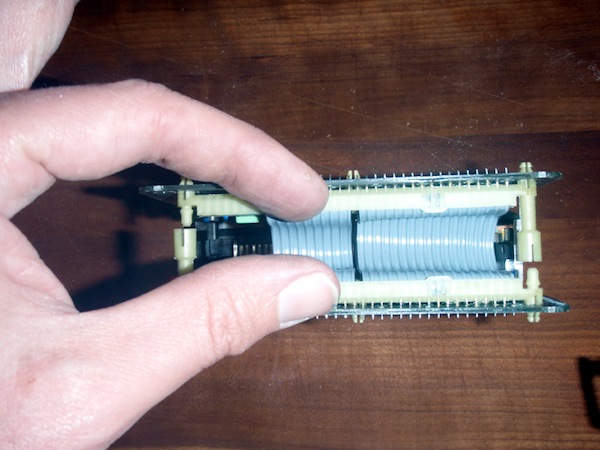
5) The two circuit boards are joined at the end facing away from the plug by two plastic mounting legs.
The trick is to separate the legs by using your fingers to pull the corners apart, one by one.
This can take some power. Make sure that the EML does not slip!
Lift the top board slightly away from the mounting legs -- say about 1 cm.
Now, what you need to do is about 3 things at once. A second pair of hands would be recommended!
6) take two small flat screwdrivers and wedge them into the left and right locking clips inside the plug.
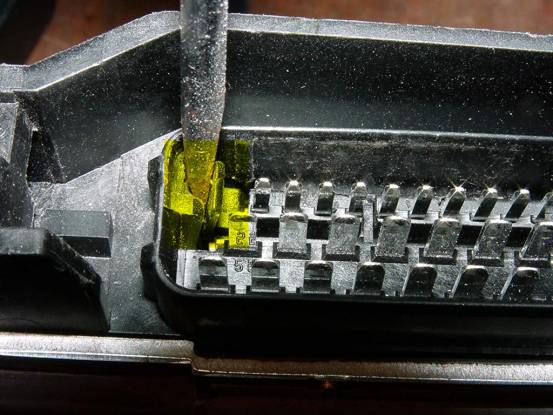
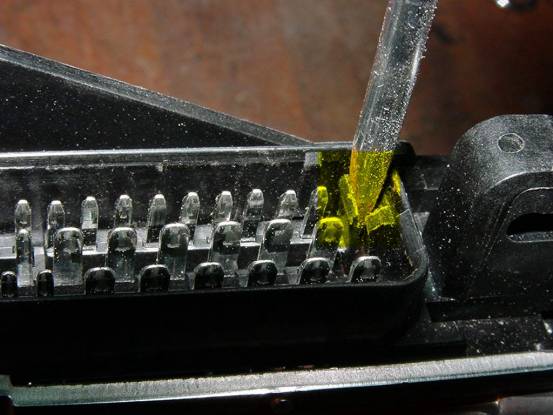
7) a third flat screwdriver must be inserted inside the plug body between the pin face and the body to release
the horizontal locking clip.
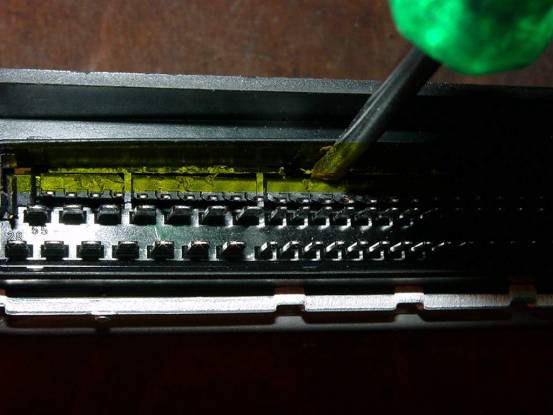
8) lifting the top board from the back so the the board does not catch on the Shoulder, pull the top board back, away from the plug.
This is definitely possible but the clearance is tight so take your time. Make sure that the drivers have not fallen out.
When the electrical pins on the board clear the plug you can flip it over to expose the insides.
Use some form of protection under the board so there is no chance of damaging it.
9) insert one of the small drivers into the slots in the chip cover and lever the driver so that the bottom of the cover is pushed outwards.
Both sides will need to be done.
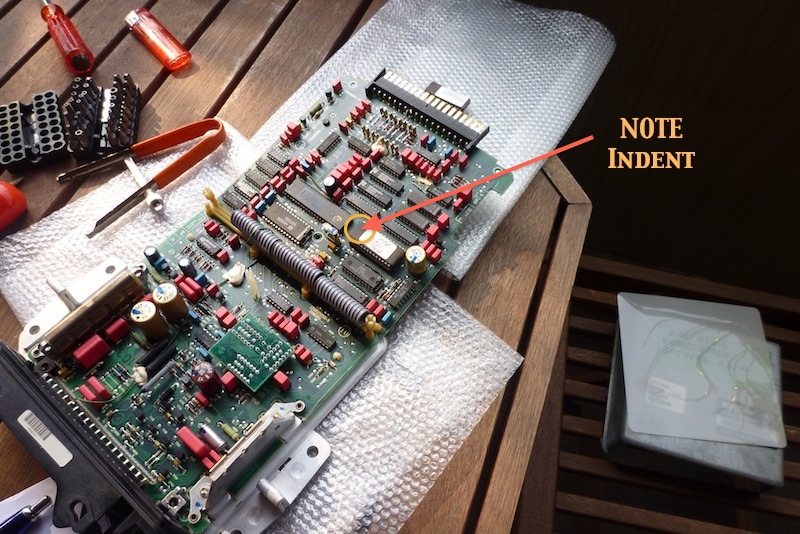
Note the orientation of the indent in the chip!
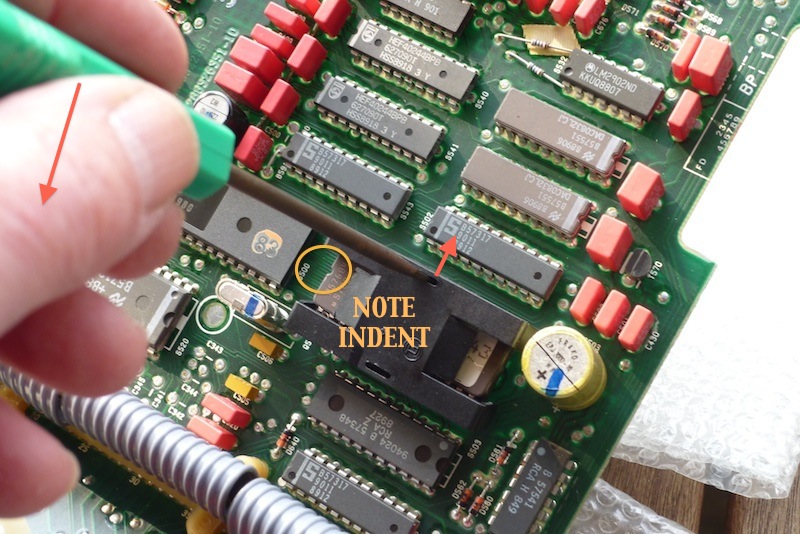
10) use a chip removal tool to take the original chip out if you are really a fanatic.
We had to use a small driver to lever the chip up since the pins were really tight.
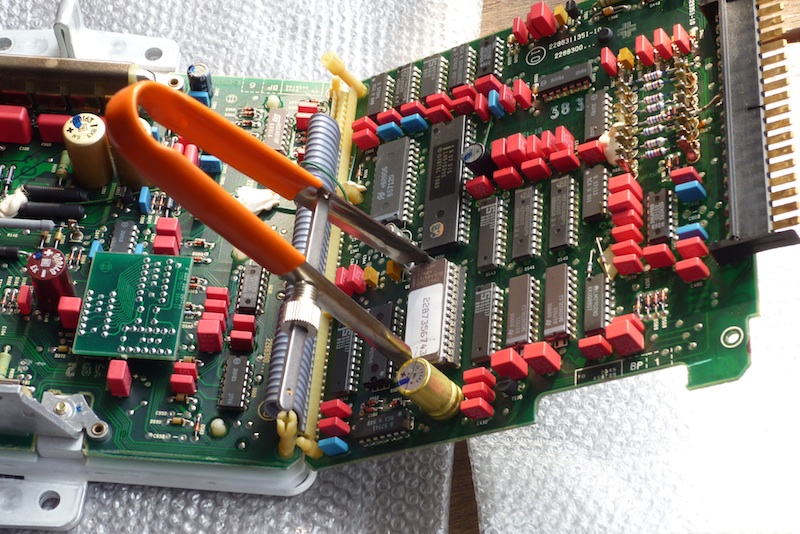
You can also see the separated plastic mounting legs on either side of the flat ribbon cable.
11) position the upgrade chip so that all pins are in their respective holes and the indent orientation is same as original.
When you are sure that all pins are in, push firmly down on the chip to seat it in.
12) Replace the chip cover, reposition the board into the plug
Make sure the center plastic mounting pin is in its hole and its shoulders are holding the board.
Push the board into the plug to seat all the clips in the plug.
We got a loud clear SNAP when everything seated.
Turn the EML over and reinstall the center plastic pin you removed in step 1).
Reconnect the two mounting legs, remount the plastic sheet, replace the top aluminum cover, and rebend the tabs down to secure the cover.
Reinstall the EML.