1. Don't read Bentley, then tell your wife that "it looks pretty
straightforward, maybe 4 hours."
2. Make sure you have all the tools known to man, especially mirror,
flashlights, 1/4, 3/8, 1/2 socket sets with extensions.
3. Just because you see the nut/bolt, doesn't mean you can get to it.
4. Just because you CAN'T see the nut/bolt, doesn't mean that you CAN'T
get to it.
5. Read the Bentley manual, then use it to prop up your beer; it IS
good for that at this point.
6.
Brown Jersey gloves. Perhaps my admission of this will absolve some of
the razzing/chiding I gave my father all those years!!
(now I
understand why he always used them, and now I do myself! Thanks Dad.)
7.
This job would be much easier / quicker with TWO people. One above, one
below. Otherwise you'll wear yourself out
getting up/down, scooting
under the car, etc etc etc......(even if its a 10 year old kid,)
8. Remove: washer tank, right airbox, carbon canister, (disconnect only
the larger hose on aft end, move forward)
9. Disconnect muffler from BOTH sides of exhaust. (this one is VERY
important when reassembling)
10.Remove
right side catalytic converter, (not necessary to remove O2 sensor,
although if car is up high, then you must remove it
(I left my cat
lying on the garage floor! )) remove heatshield below exhaust downpipes.
11. Remove both exhaust downpipes, front one will come out the
lower/back first, then the back one, out same place.
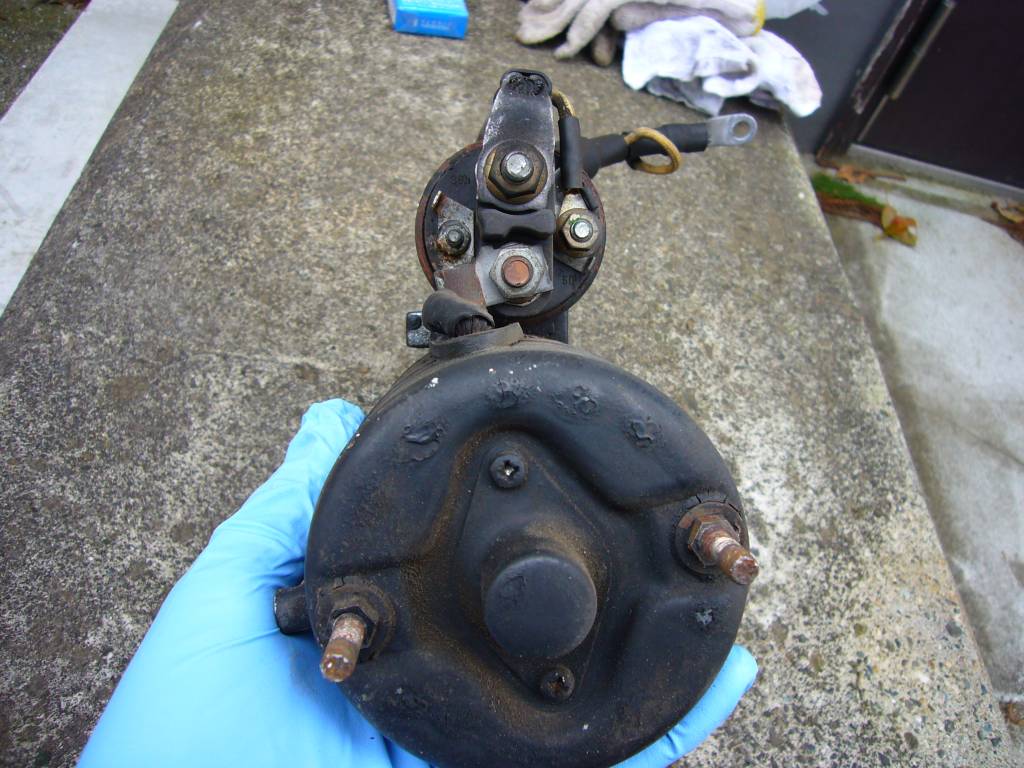
12. Remove heatshield from starter; then remove positive lead and
solenoid control lead.
13. Now the fun starts: remove the two starter mounting bolts. A thin wall
16mm socket is needed.
A 5/8 sparkplug socket ground down will work, if
you don't want to sacrifice a good 16 mm socket for the job.
14. Installation is reverse of removal. with these following notes:
15. When installing the exhaust, leave the downpipes loose until the
catalytic converter is in and tight.
This is imperative, as the
pipe-to-pipe flange connection is tight, and there is NO ROOM for
error.
Then the downpipe connections to the exhaust manifold can be
tightened. Bentley says to compress spring, back off 1 1/2 turns.
16.The
tops of the two inner boltheads for the downpipes can be seen with a
mirror,
between the manifold and the plugwire - heatshield. Mirrors are
a must for this job.
One other note: the use of Beryllium copper
nuts (or whatever they are) for the exhaust is wonderful.
Can you imagine being able to remove (and reuse!!) 15 year old exhaust nuts on
a Detroit-built car??
I hope this helps to simplify the process
for somebody else. It was a tortuous job, especially since
I was doing
it lying on my back on a cold garage floor. If a creeper is available,
make sure you use it;
jack the car up high enough for access. Make sure
the car is supported extremely well on jackstands.
And note that you'll
still need access to the top side of the engine.
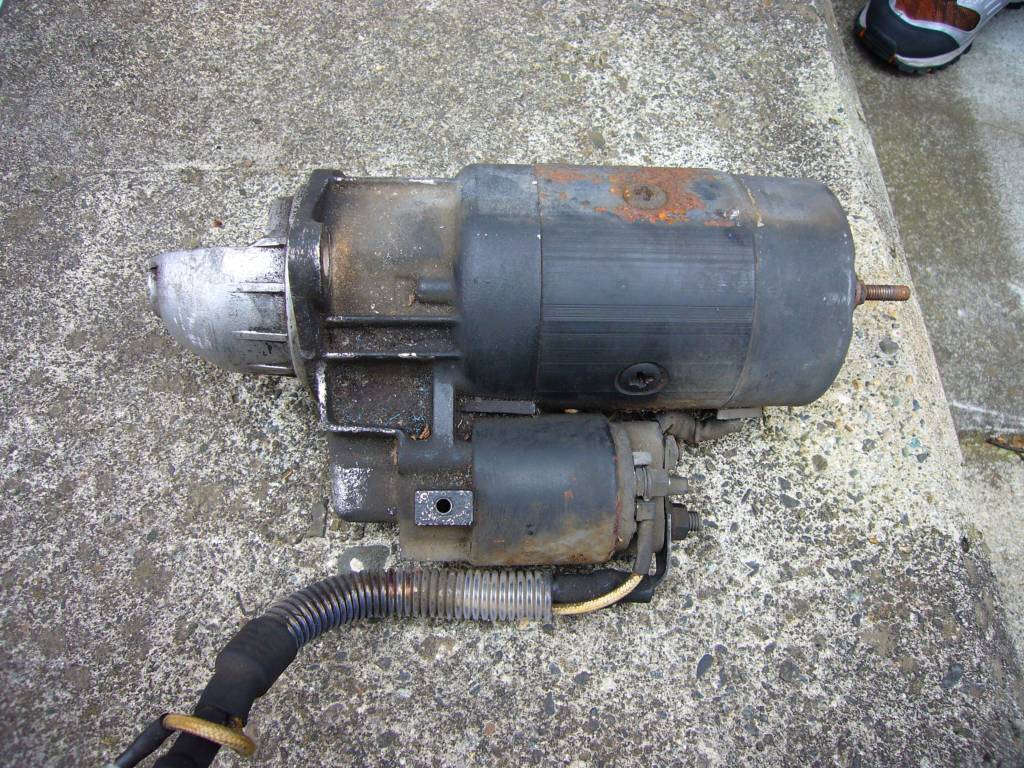
The new starter
has a much different sound than the original....it is more 'turbine'
sounding than the original.
The original really sounded like the old
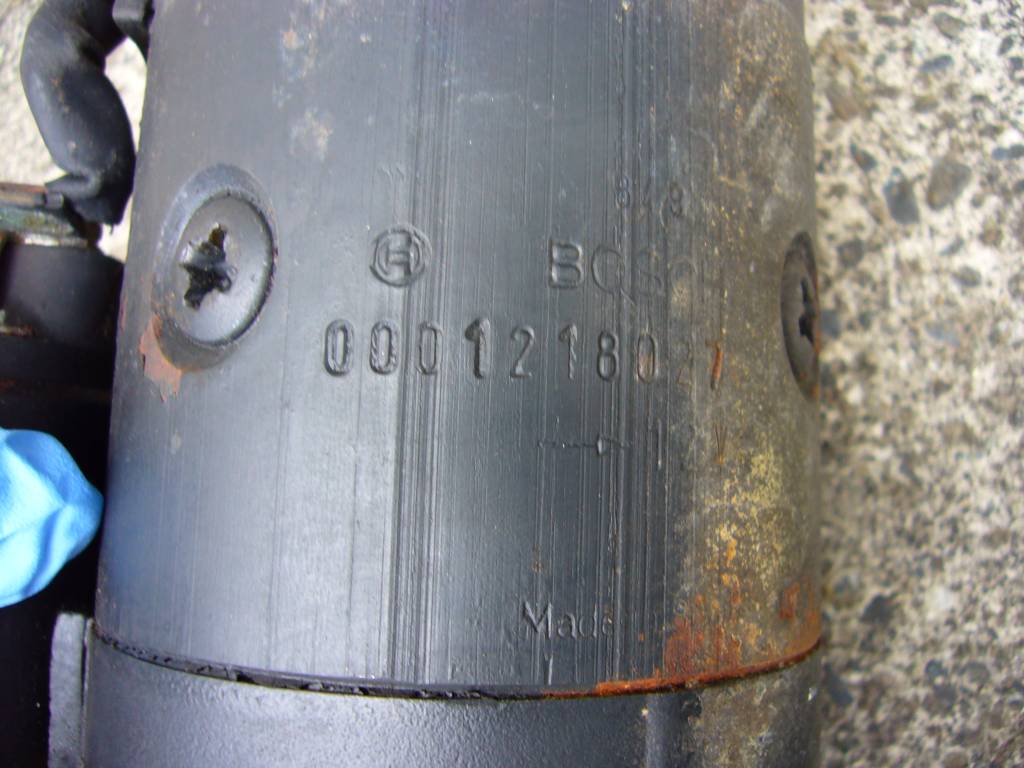
Chrysler starters, this one is much smoother. It is a rebuilt Bosch
from
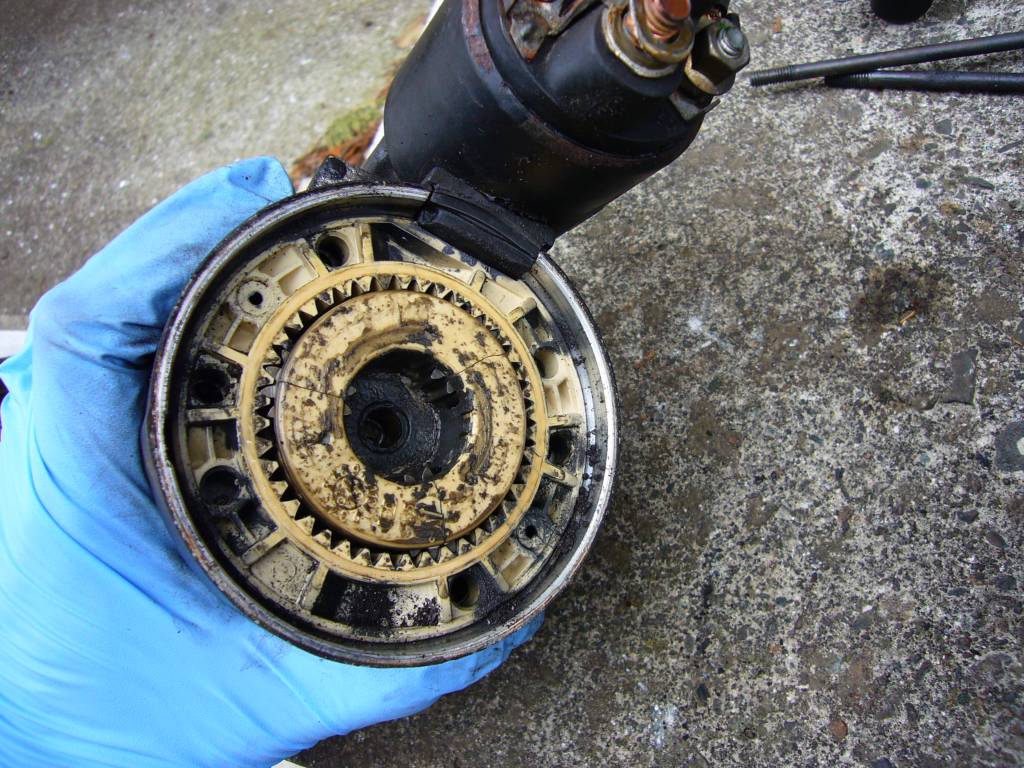
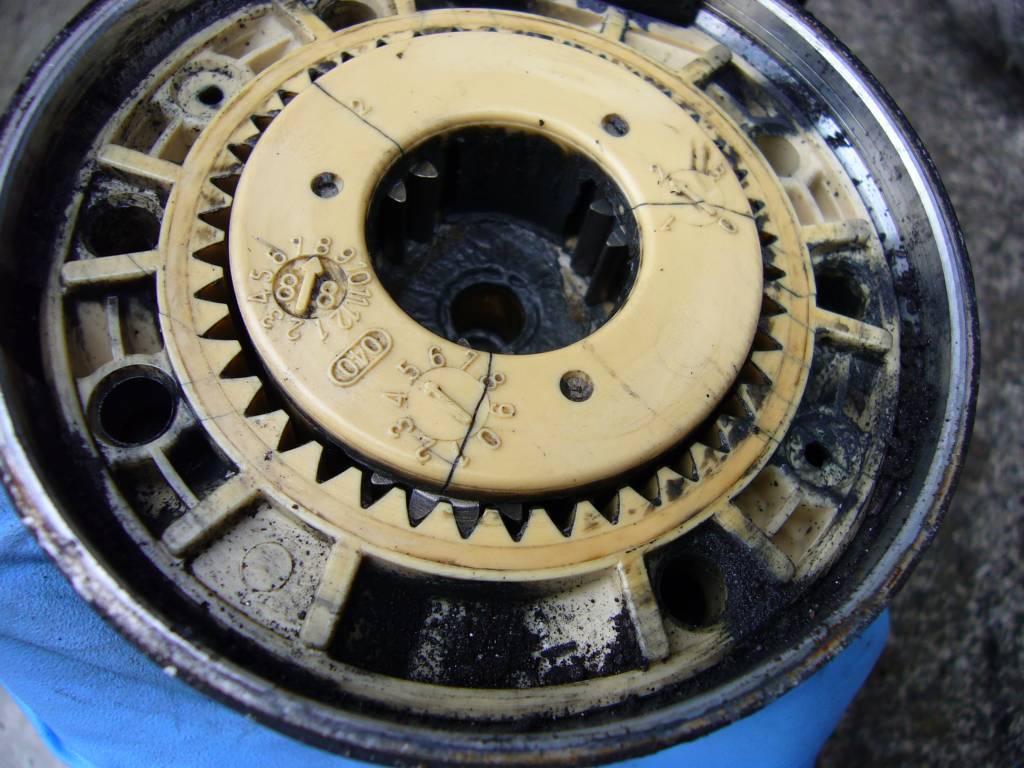
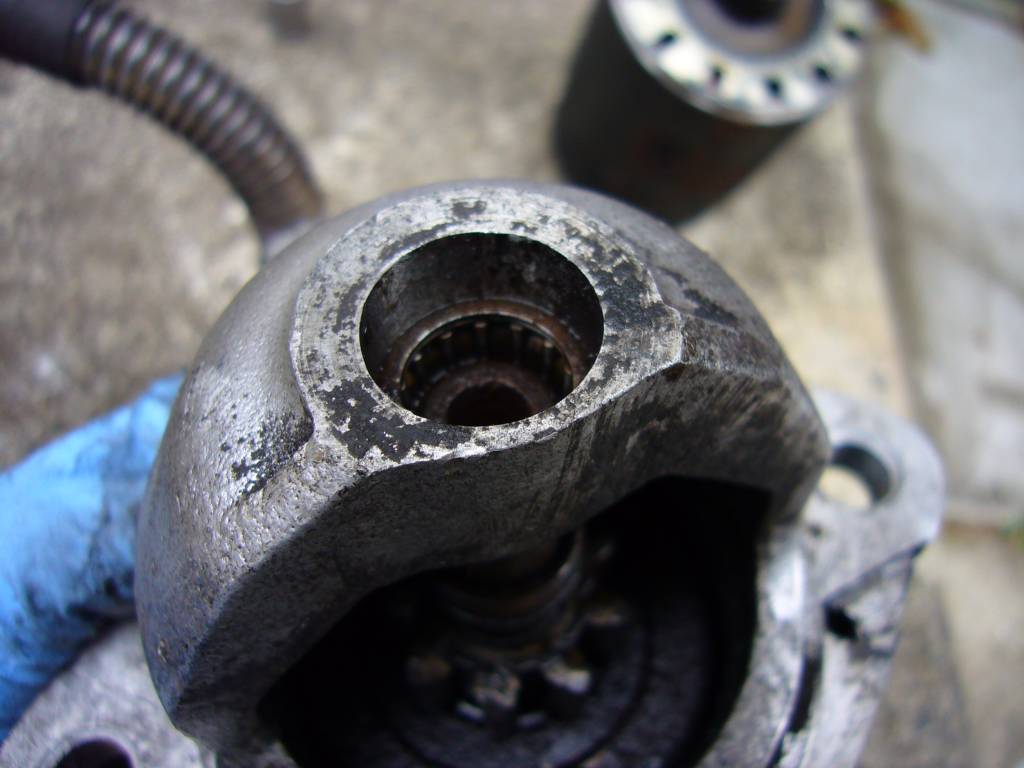
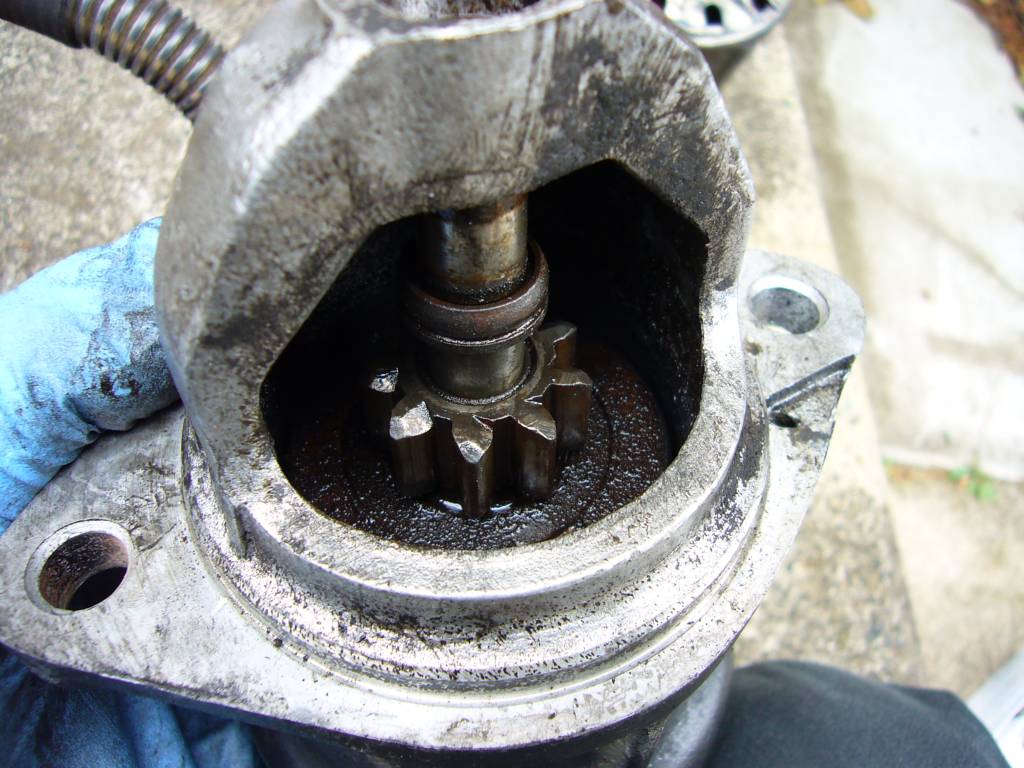
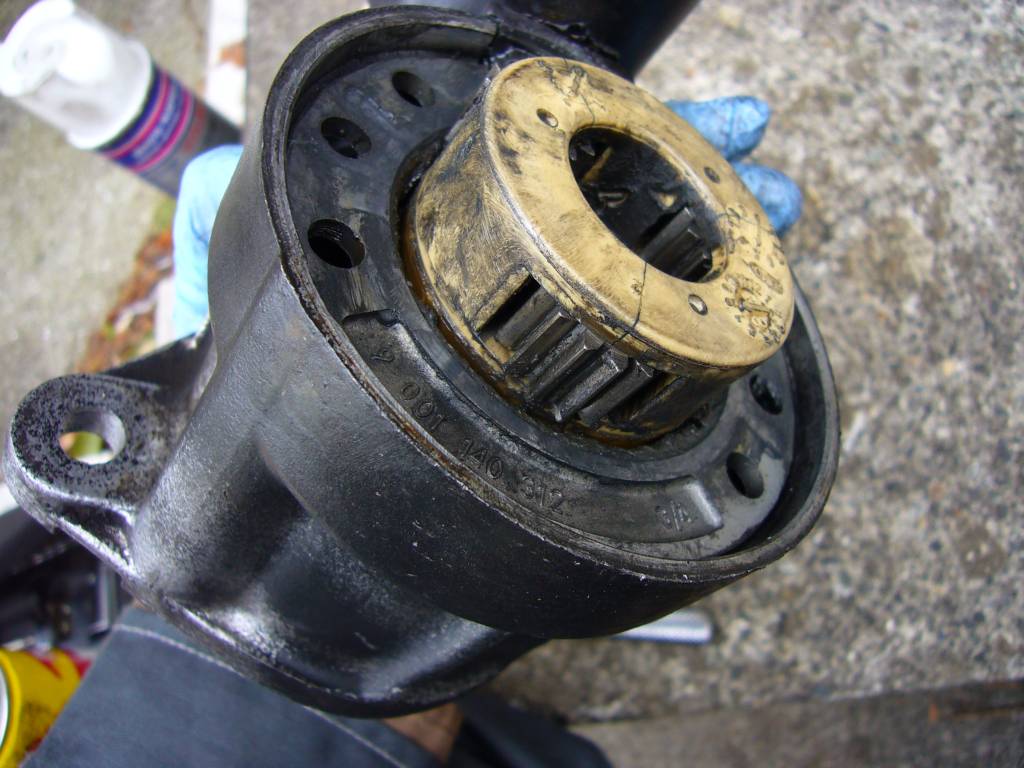
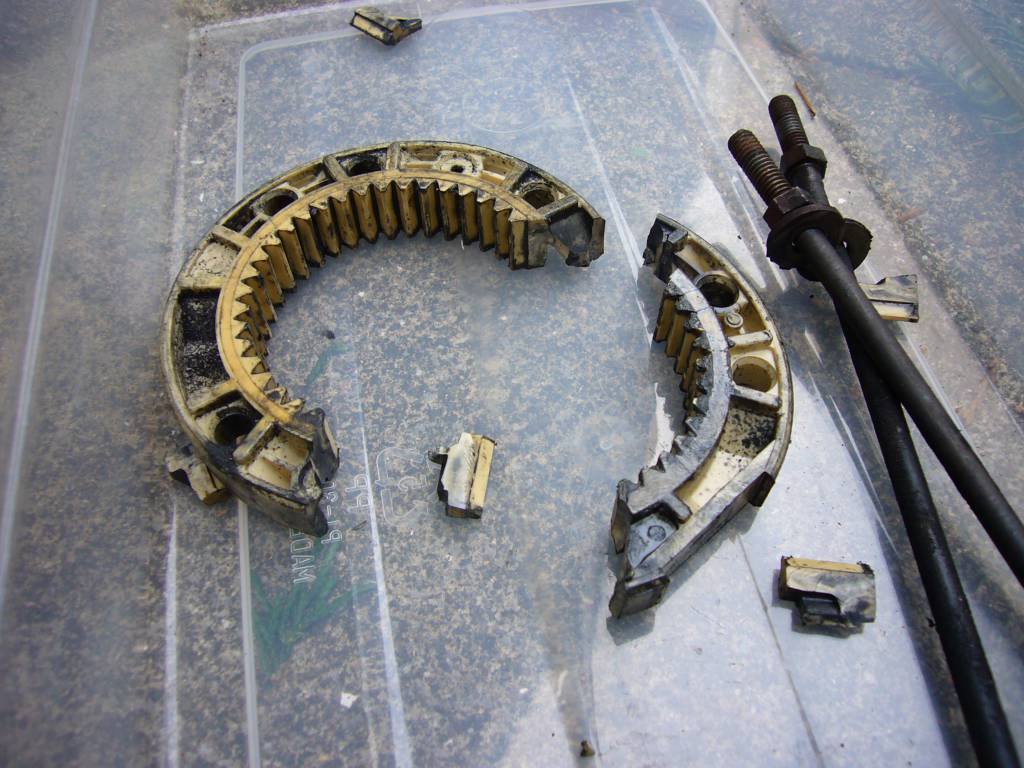
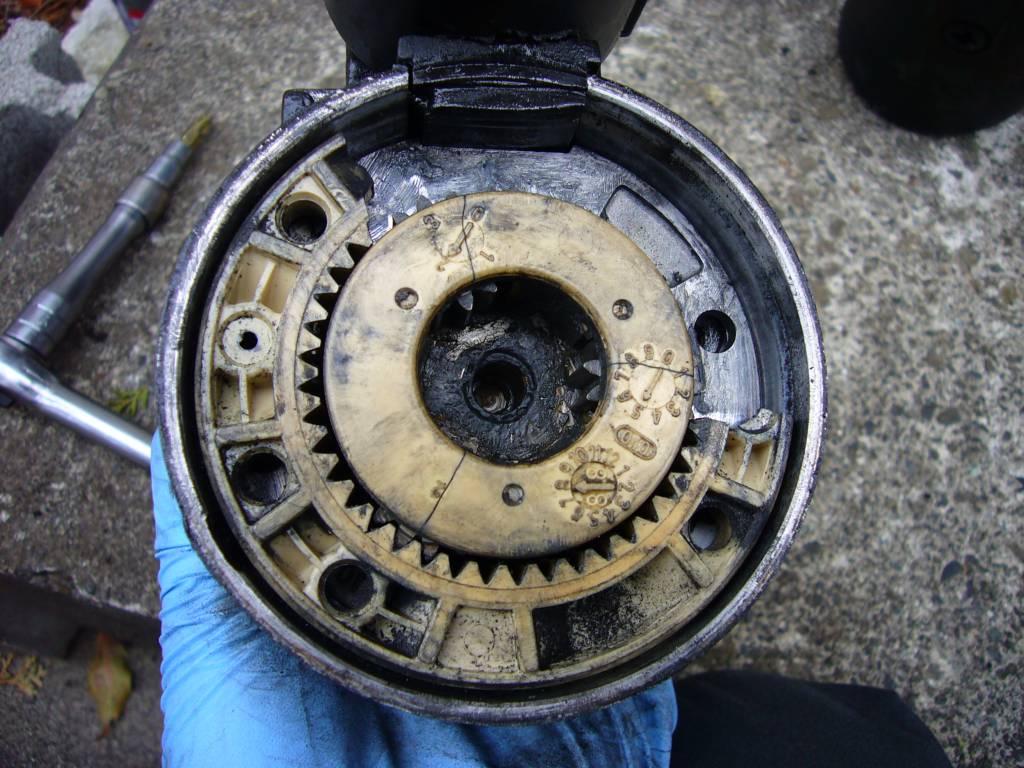
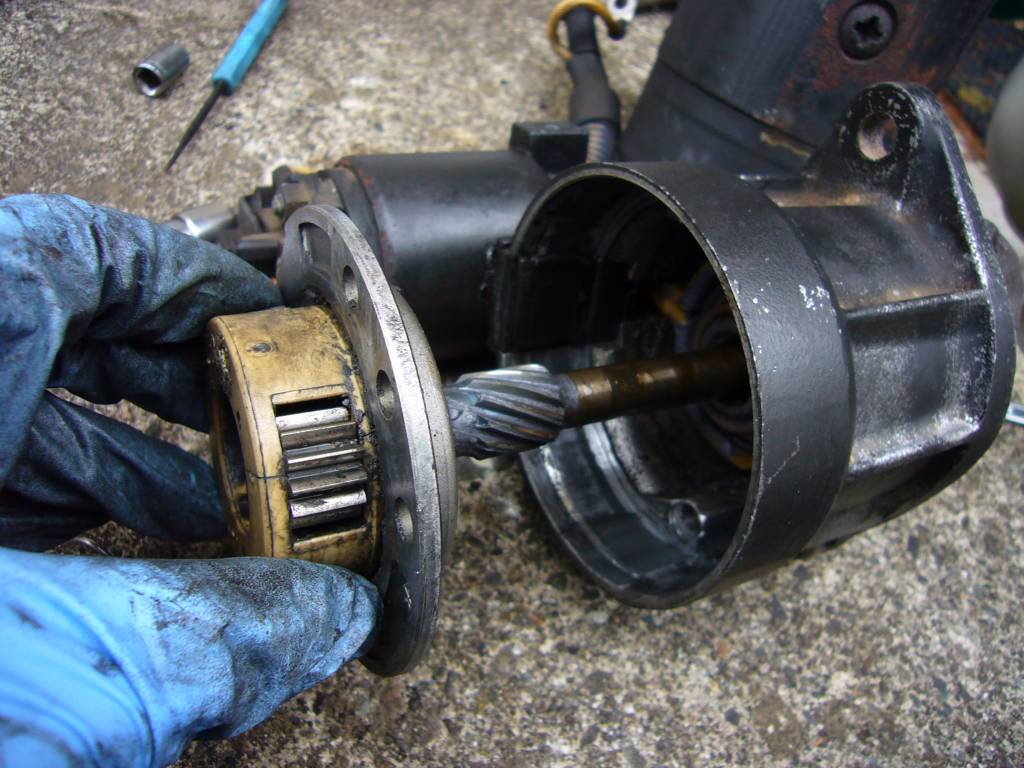
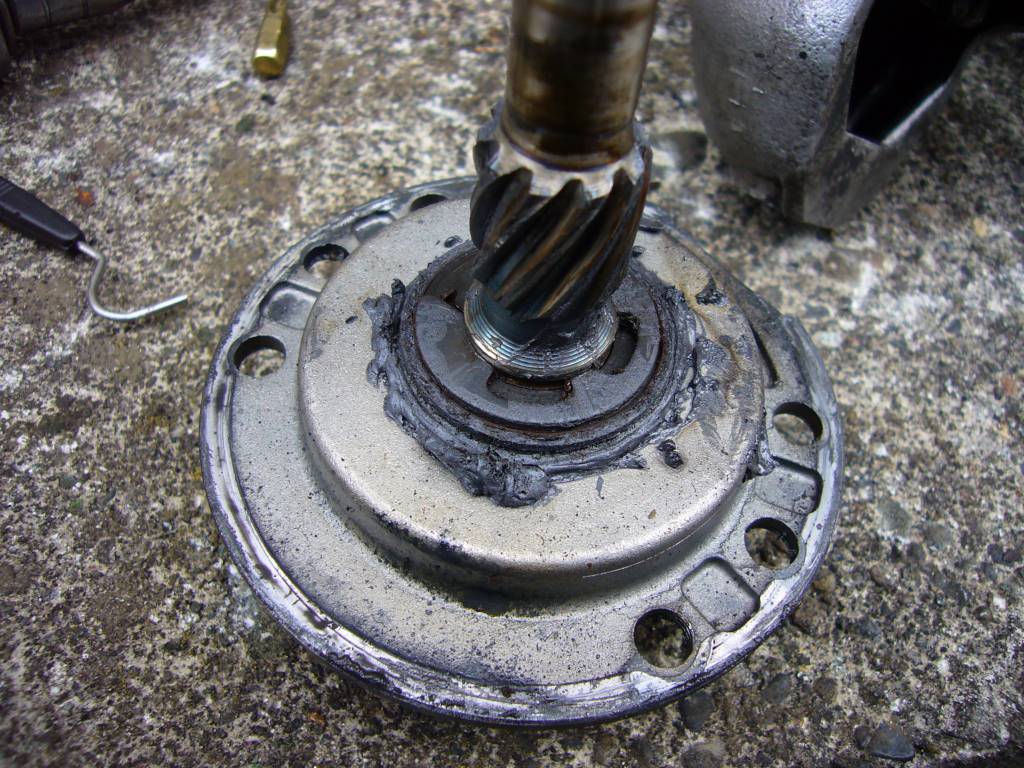
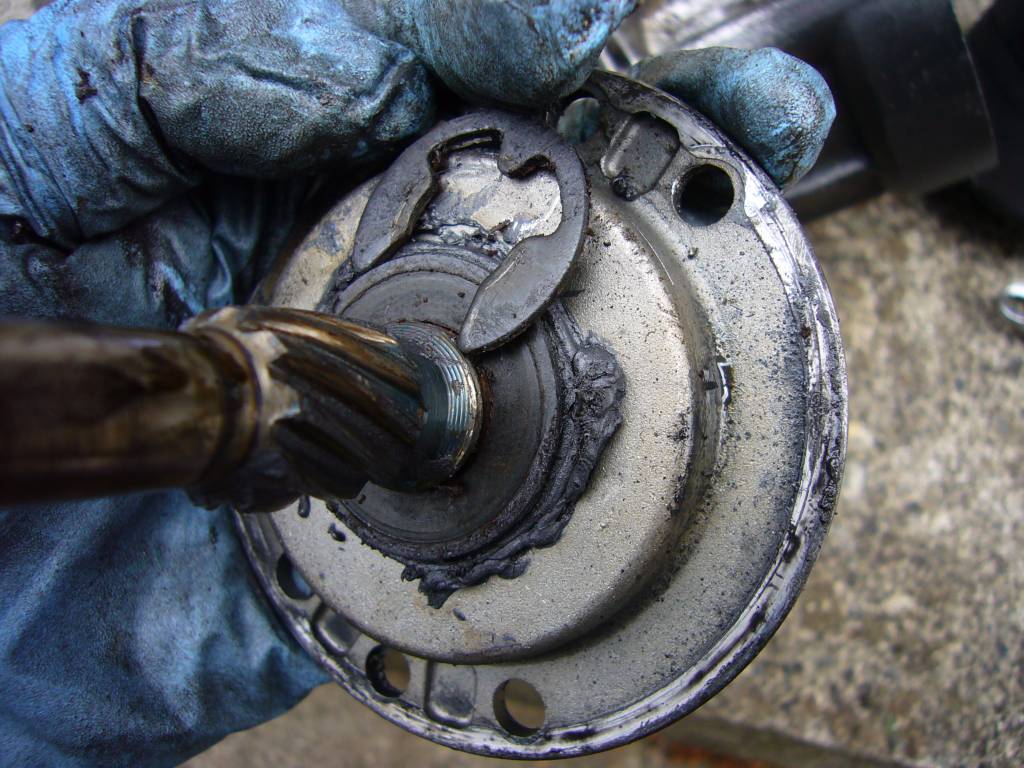
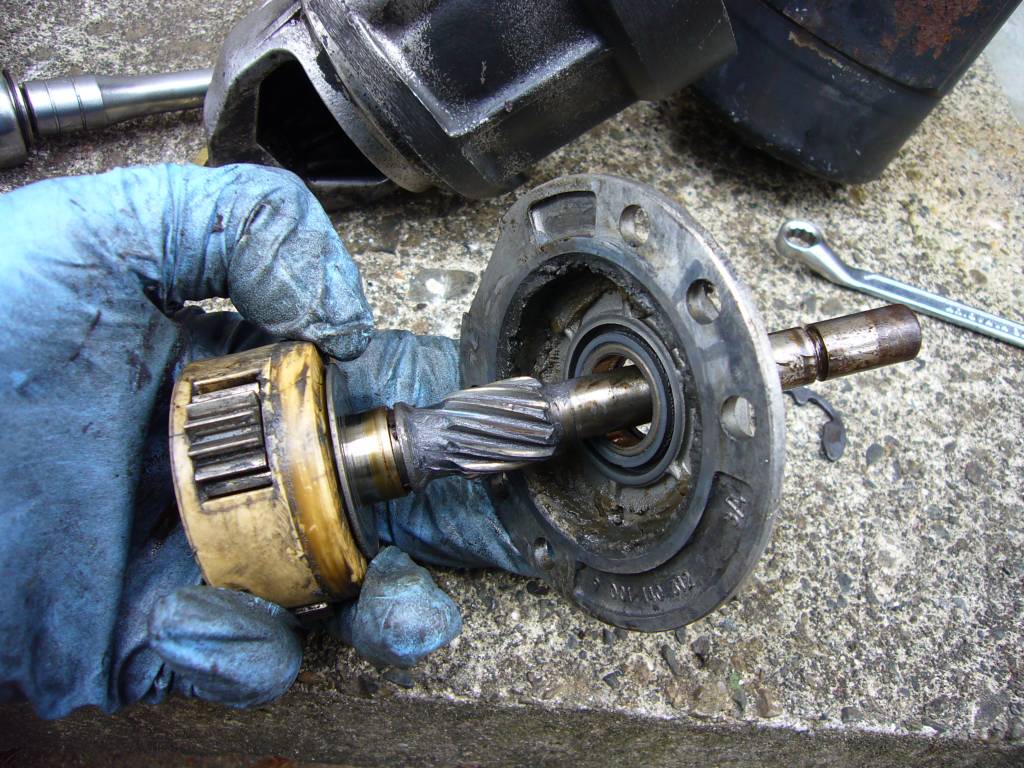
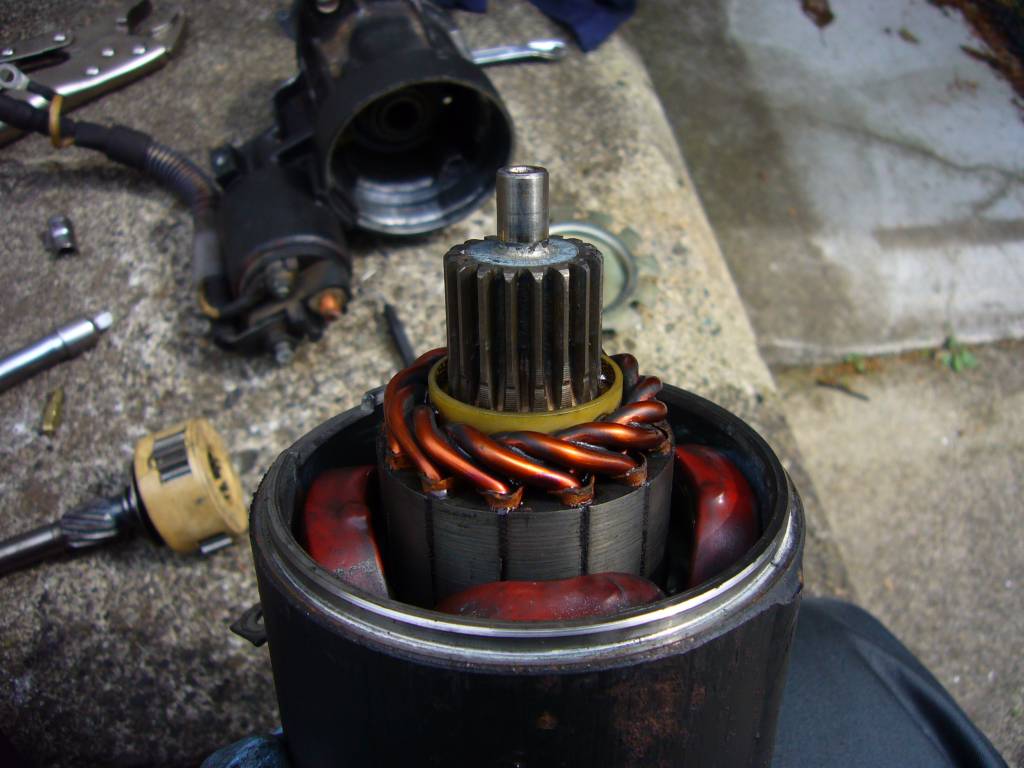
Advance Auto Parts, $140. The problem with the original one was
that the outer shaft that the 'Bendix' slides on
was rusty and
corroded, and must have been preventing the full / quick retraction
from the flywheel, which resulted
in the unusual sound of the starter
being driven BY the engine, once it started, and until the Bendix
disengaged.
Any questions, let me know. If anybody wants to copy
and paste this to their site, please do so.
Sorry I don't have pix of
the process.....
Author: Mark750iL on 2004-04-12
Jump to top |