Home
Fixes - LAD

Refurbishing the electrical contacts


If you're having problems with a seat switch that won't work in one or more directions then this page may be of some help.
First thing to remove the switch.
Carefully pull the control buttons straight back to remove them,sometimes you can use a flat putty knife or dinner knife to pry them off.
Then you'll find a philips screw that you remove.
Next you'll need a Torx T25 driver or socket to remove the 2 screws pictured.
After that you can remove the plastic panel and remove the switch from its socket.
Carefully disconnect the wiring harness from the switch


Now that you have the switch out take some bread wrapper ties or wire and wrap around the switch knobs as pictured.
Twist it tight and push them down to the base of the switch so they will hold these in when you take the switch apart.
This will keep some of the springs from falling out.


Next open it up.


Then with the switch levers pointing down you carefully pry open at the arrows.
You may want to put the whole
thing in a large plastic bag to do this and set it on a table facing down.
Once you get it apart you'll see the contacts which look like little silver barbells and small springs underneath them.
The contacts will have some arced or pitted spots on them.
If you roll them around slightly so that a new surface is exposed that will be all you need to do to them.


Take some sandpaper or emery cloth and lightly sand the areas that arcing has taken place as indicated by the arrows....


You can see here the spots on the bottom of the contacts where they have been arcing, just roll them around a quarter turn and then reassemble the whole thing.
Reinstall the switch and try it. Once in a while you'll have to pull it back out and clean off a little more corrosion in spots.....
Also after you sand the flat plate smear some of the conducting grease that you didn't disturb back over the areas you sanded...
The same thing can be done to the window switches ,sunroof switch and transmission mode switch.. They have the same spring setup and contacts.....
I checked list price on the seat switch at the local dealer and it was 80.00....
So some DIY is not bad for a half hour home repair....
Jump to top


Replacing the clip on the rear headrest


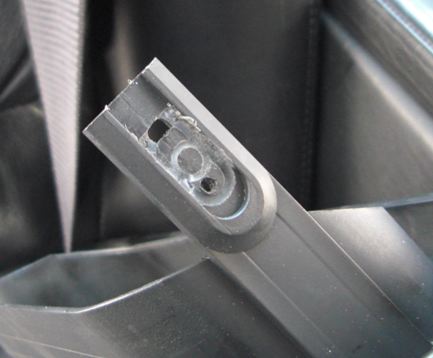
replacing the rear shock bump stop 2 weeks ago I noticed that the plastic frame for the headrest on the right rear passenger seat was missing a clip.
Without the clip the frame does not lie flat against the seat top.
I made a substitute.
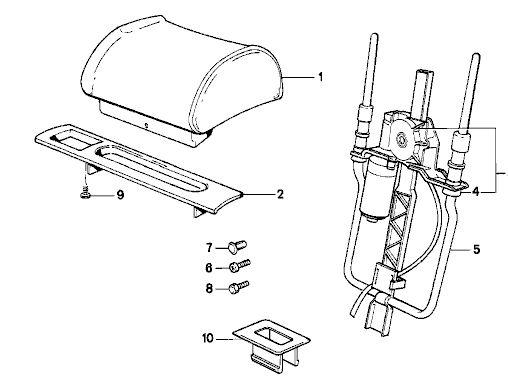
This is the part at RealOEM but the part shown (#2) does not exactly match the part on Shogun's car.
A very satisfying hour or so.


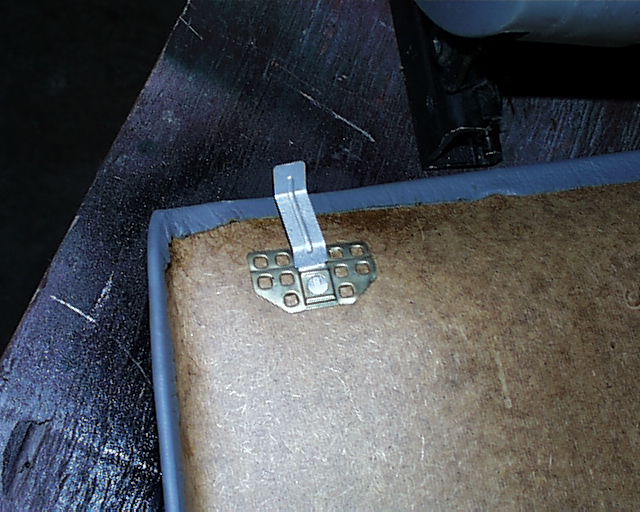
This is the leftside frame with clip -- looks like its position (height) is adjusted and then tacked or glued -- not exactly robust


This is rightside without clip


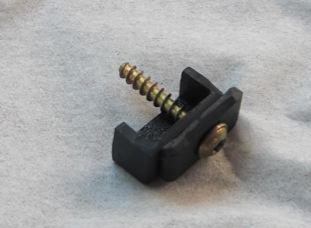
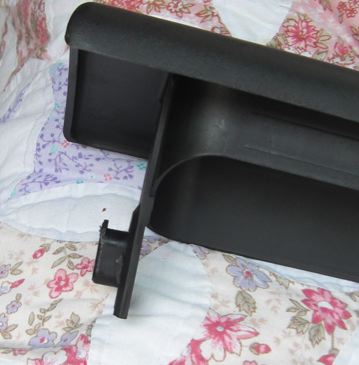
Replacement made from plastic packaging -- zero cost!


Replacement in -- screwed and glued!  Screw was too long so we cut off the excess to stop it from scratching the headrest.

Jump to top


Removing the electric rear seat


Contrary to belief removing the rear electric seats are not as bad as the reputation holds.
When I first became involved in the 7 series I was told that it was a B***ard of a job it's not.
There are shortcuts to the procedure shown which you will find as the job becomes more familiar.

Again the rear seats need to be removed to access the Battery and aux fuse/relay box;
unfortunately, in the case of electric seats to access both you need to remove both rear seats as they are individual.

First job is to slide the seat as far forward as it will go using the seat switch.

Next remove the door seal from the kick plate to the door catch, this has to be removed to remove a small plastic panal that
covers the seat belt mount basically a notched metal bar (see below). The small plastic panel can also be screwed into place.

Next undo the fabric panel this is stiched in place on upper seat back and attached to the lower seat by velcro.
Undo the velcro and you will now be able to see the notched bar I was refering to before and the bolt that secures it.


Next remove the plastic switch panel, to do this gently prize off the two switches which will reveal 2 phillips screws,
undo these and then unclip panel from seatbelt body be careful whilst doing this as it appears to be easily broken.


Next unclip seatbelt wiring connector, then remove Seatbelt Mount bolt (i) and then the seatbelt body bolt
(ii) finally at this stage ease out the notched bar from the rubber bush. The seatbelt body & notched bar can now be removed completely.


Now look under front of the seat and push back the small tab to release the front end of the seat and lift, whilst lifting front of seat push the back of the seat downwards and forwards.

*The back of the seat has two large metal pins which slide out of metal rings affixed to the upper seat, the back of the seat has to drop down
enough for the pins to become free of the upper seat fixing*
**The seat base rails are also attached to a mounting. The seat must be moved forward by about 2" to free it's self from the mountings
before the back of the seat will drop**


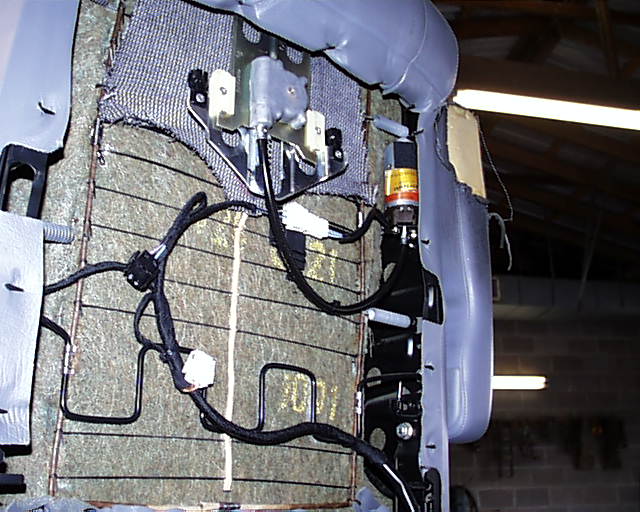
Note that the seat bottom is upsidedown in the below photo.


All that's left is unclip seat wiring connector and jobs done.


Jump to top


Untwisting the seat back


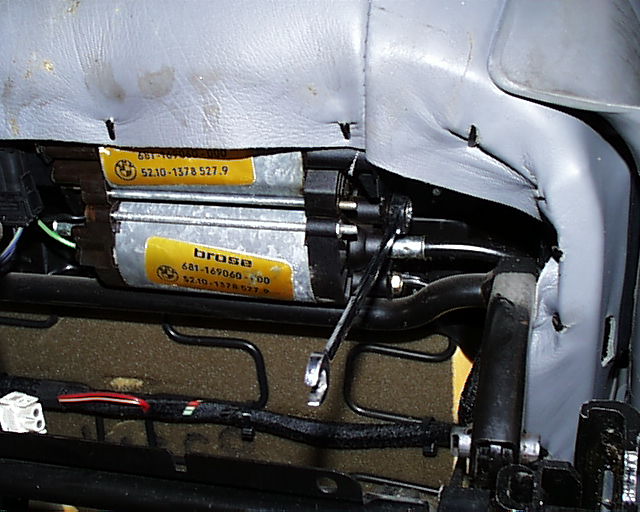
Here it is the big one! I know a few shops who pork the hell out of people on this job, and it's EASY. Memory seats are harder, you can usually unbolt the seat and get it into a good position and leave it plugged into the car for power. I covered removing the seat in the rocking seat fix. Each motor has two 8mm bolts on each end, the best wrench I've found is the Gearwrench brand ratcheting wrench - they can be had from Sears in sets only and from Napa in sets and one at a time, about $50 a set.


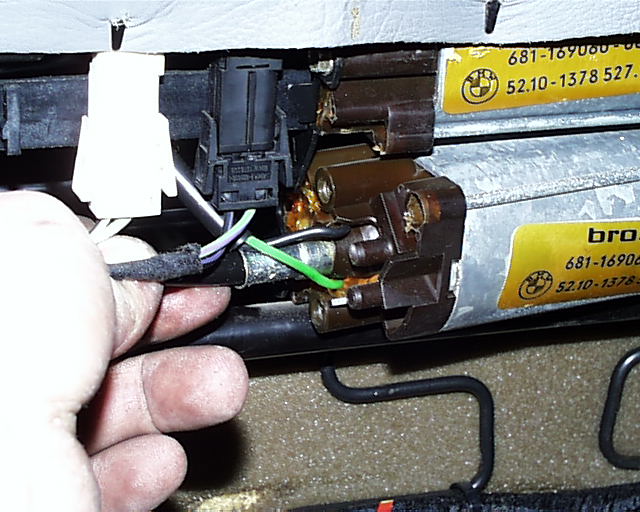
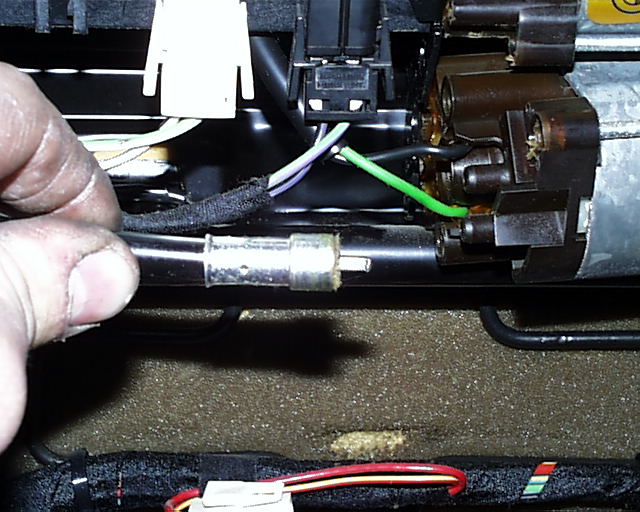
Take the bolts out of one end at a time. Once the bolts are out tip the motor out and pull the cable out (memory seat note, on one end of each motor is a counter, it adds about a inch to the end of the cable that needs to stick out and it has longer bolts).


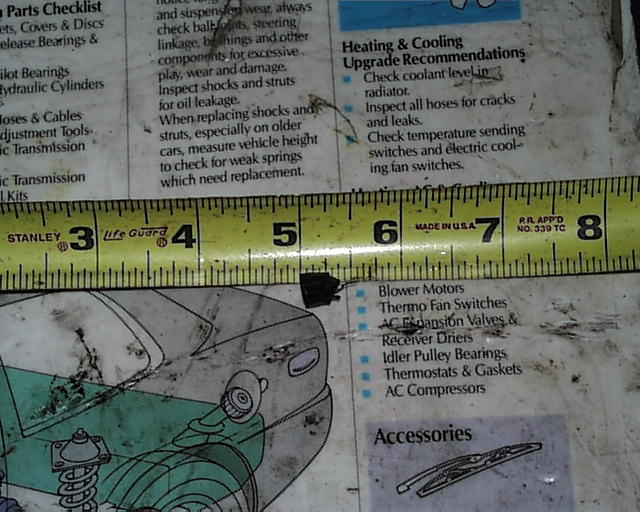
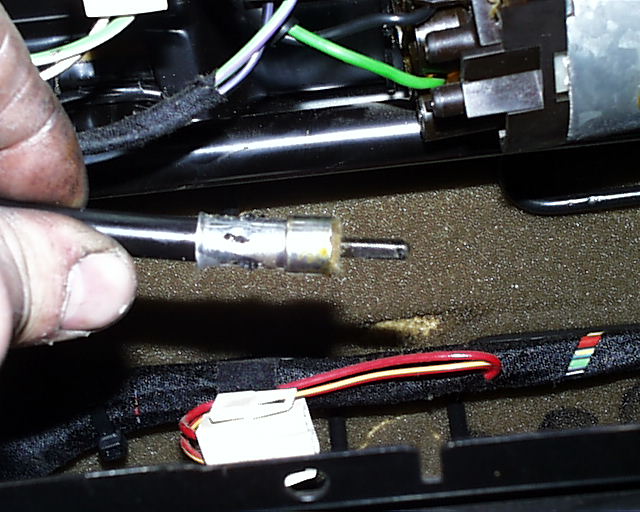
Once the cable is out, push the drive cable in to the sheath as far as it will go and see how long it is, you want about a 1/2 inch (13mm), this is about 1/4. after seeing how long it is pull the drive cable out of the sheath.


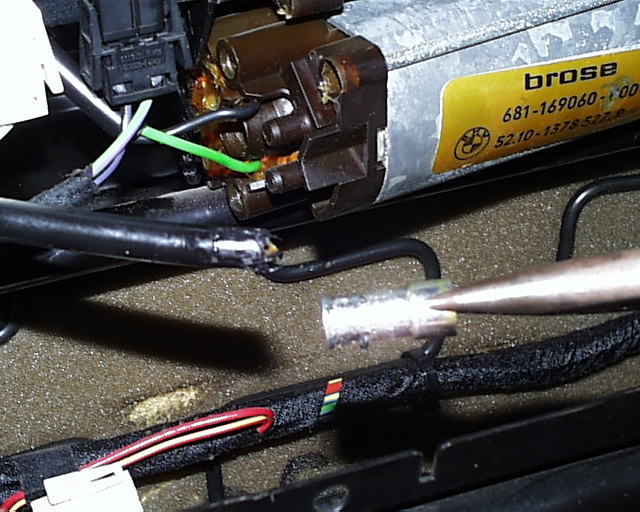
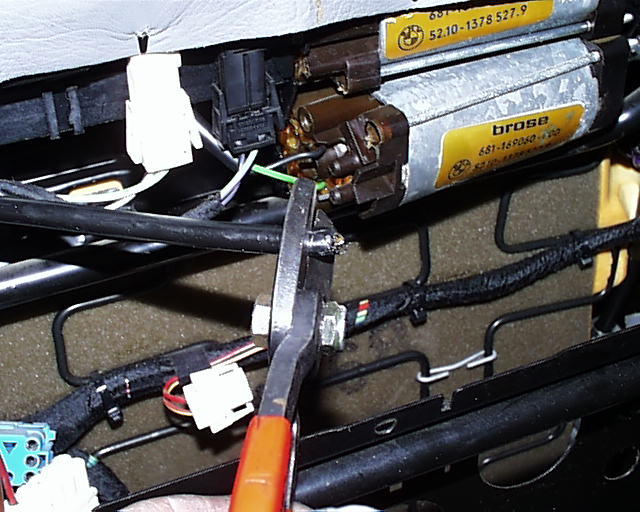
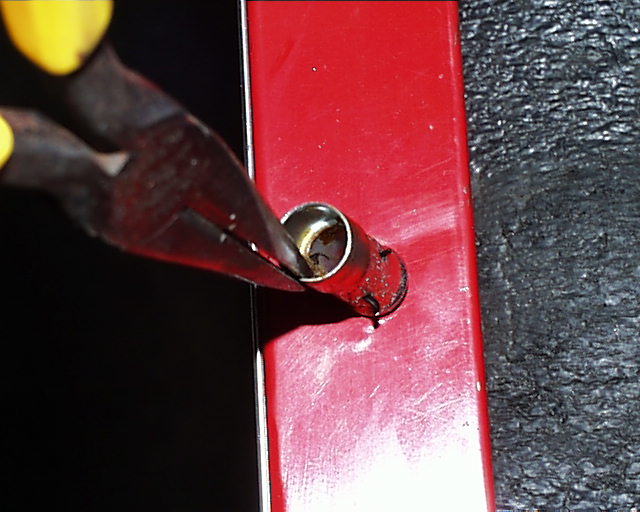
You need to heat the metal end to remove it, it can be done with a lighter but that is a PITA (pain in the a$$). I use a propane torch, about a 3 second shot with a medium flame and you can pull it off with needle nose pliers.


Now the fun part. Don't go nuts with the cut as you only have a little room to play with. Itake between 1/2 and a 1/4 inch depending on how much the drive cable has shrunk.


There is a ridge on the metal end, this is where you insert it to.


Sometimes there is a hard plastic thing or a blob of grease or a rubberey piece of snot or fuzzy thing or nothing that lives in this space. Give the end a 3-4 second shot with the torch and stab it back on to the mark Now stick the drive cable back into the sheath you may need to twist and jiggle to reingage the other end. If you are worryed about overheating the end have a wet towel ready to slap on it.


If your seat is twisted leave one cable at a time off and run the other side up to the stop then disconnect it and connect the other and run that to the stop. The seat should now be in time. Just stick it in the hole and bolt it down and repeat 4 more times for the rest of the seat. the headrest is a little harder but is done the same way.


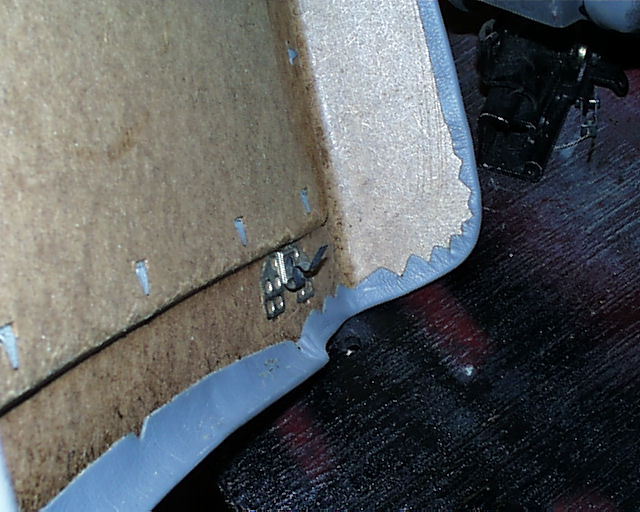
To get the back off of the seat you kind of push up and pull out at the bottom. You have to feel your way through it, here is one of the top clips.


Here's one of the bottom:


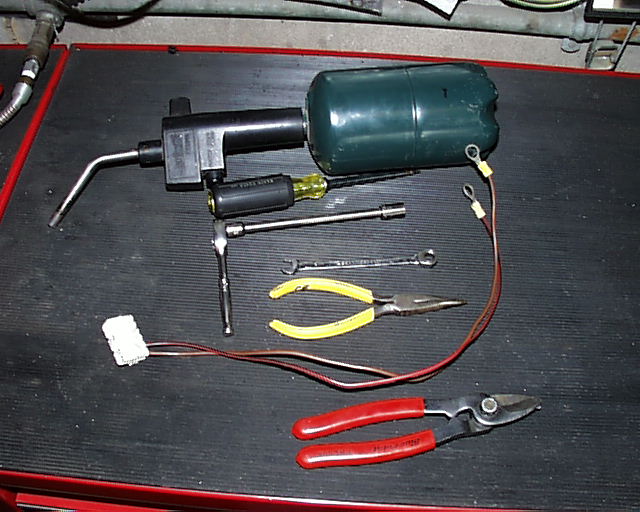
This is all the stuff you need to do the job.


Enjoy your non @#$$ed up seat!

Jump to top